8 bike maintenance mistakes to avoid
Are you new to the cycling world? Or have you not yet mastered the perfect maintenance routine? If so, there may be a number of things that you’re doing wrong when it comes to looking after the quality of your bike.
Some of these mistakes may just be costing you unrivalled performance and longevity. If you want to enjoy a seamless cycling experience without worrying about issues on the road, then it’s time to stop neglecting these eight key maintenance steps.
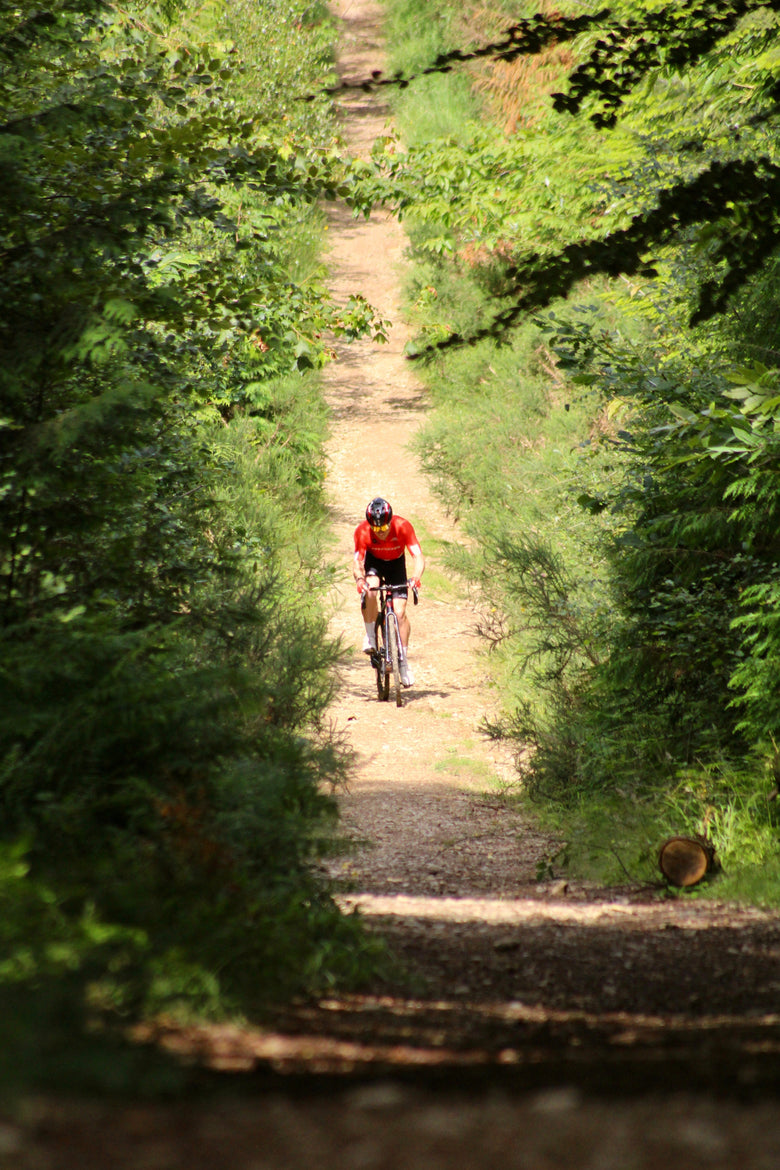
Are you looking for a bike that offers more? More power, more comfort, more protection? Luckily for you, we have a wide selection of road bikes and gravel bikes to choose from, so you can chase that rider high in style.
Mistake 1: Skipping regular cleaning
To make sure your bike is performing to its best ability, you should give it a deep clean every week (depending on how much you use it).
Dirt and grime can accumulate quickly, especially during winter when the ground is muddy and wet. If you don’t give your bike a good scrub after every 2 or 3 rides, the components can quickly become worn and weathered.
You can scrub your bike down with warm water and soap, paying close attention to the chain, derailleurs, cassette, pulley wheels, and bottom bracket area. Avoid jet washing, especially around bearings, as it can force water into places it doesn’t belong. Use a toothbrush to get into those hard-to-reach areas.
If you don’t have time to clean the whole bike, at least make sure you’re keeping the drivetrain in great condition—it’s the most expensive part and affects the speed.
Mistake 2: overlooking chain maintenance
When it comes to keeping your bike in check, neglecting chain maintenance is one of the most important things people overlook.
If you don’t clean and lubricate your chain regularly, you’ll feel it in every pedal stroke. Some signs that your chain needs some TLC include dry or stiff chains, squeaking noises, and grinding against your cassette and chainrings.
In the UK, where weather conditions are mostly rainy, mud, salt, rainwater, and dust can quickly wear down your drivetrain, even causing it to snap mid-ride.
That’s why we suggest the following:
- Clean your train regularly: Use a bike chain degreaser and a proper cleaning tool or stiff brush to scrub the links until they’re bright and shiny.
- Lubricate with bike-safe lube: Choose a chain lube or wax that meets the conditions you’re riding in. Always avoid aerosols!
- Don’t overlubricate: Too much lube attracts more grime and turns your drivetrain into a sludge magnet, so always use a small amount and wipe away any excess.
Mistake 3: Incorrect tyre pressure
Tyre pressure makes a big difference between a smooth and safe ride and a complete disaster waiting to happen.
Getting it wrong can result in puncture resistance, slower speeds, less comfort, and a weaker grip on the floor. If you attempt to ride on underinflated tyres, you’ll have to work much harder just to pedal to your destination.
For those who travel often on gravel or harsh terrain, you risk pinch flats (where the inner tube gets squashed and punctured between the rim and the ground). However, you don’t want to overinflate your tyres either, as this can reduce contact with the floor and make your wheels more vulnerable to punctures.
Here’s how to get it just right:
- Use a quality track pump with a pressure gauge— Don’t attempt to guess. Tyres lose pressure over time, so check them before every ride.
- Follow the PSI recommendations— These are printed on the tyre’s sidewall. However, we suggest treating them as a starting point, not a strict rule. Road tyres should be around 80 to 130 psi.
- Adjust them based on your weight, bike setup and terrain— Different weights will need different tyre pressures. While road bikes need around 80 to 130 psi, gravel bikes need around 30–50 psi to maintain traction and comfort on rough terrain. You can use a tyre pressure calculator online to determine what you need.
At Moda, we use performance-focused tyres designed to suit British roads and trails for our bikes. We also have a great selection of Spinergy wheels for the ultimate performance.
Mistake 4: Improper storage
Yes, the way you store your bike can have a big impact on its longevity and quality.
If you leave your bike out in the garden or a damp shed, any steel components, such as the chain, bolts, and cables, will begin to rust away. Cold temperatures can even dry out seals and cause tyres to deflate over time (and we’re sure you don’t want that).
However, leaving your bike in the sun can cause UV damage, destroying paintwork, and allowing your bike to sit with underinflated tyres for too long will cause flats.
Here’s what to do instead:
- Store your bike indoors: Keep your bike in a spare room or a dry garage or shed, covering it with a protective sheet to keep dust and moisture at bay.
- Protect your drivetrain: Before storing (especially in winter), clean and lubricate the chain and apply a rust-protectant spray to exposed metal parts.
- Don’t rest your bike on the drive side: Doing this can wear down the cassette, derailleurs, and cranks.
Mistake 5: Neglecting brake checks
The brakes are one of the most important components of your bike—they protect you from crashes, prevent injury, and help you manoeuvre tough declines or sharp turns.
You’ll know that your brakes are faulty if you hear squealing noises whenever you use them or if they are unresponsive when trying to slow down or stop. Loose brake cables and worn brake pads are two of the most common reasons for faulty rim and disc brakes.
Chain lube overspray or road oil can also damage pads or rotors, and cable stretch or hydraulic issues can delay brake response.
Here’s how to keep your brakes in check:
- Inspect the brake pads regularly. Look for signs of wear and tear, such as grooves, on the rim brakes—if they’re barely visible, it’s time for new ones. Then, check the pad thickness on disc brakes. If it's under 1mm thick, replace it.
- Clean the braking surfaces: Use isopropyl alcohol to gently wipe the rim sidewalls and rotors—but avoid touching them with your finger!
- Test before riding: Before you hop on your bike, squeeze the levers to check the brakes' response. If one feels soft or takes too long to bite, it may need adjustment, bleeding (for hydraulic), or new cables (for mechanical).
Mistake 6: Using the wrong tools
When it comes to making adjustments or fixing issues on your bike, you can’t just use any old tools. Doing so could lead to more problems while you’re trying to repair your bike.
Avoid the butter knife derailleur adjustment and instead invest in a high-quality set of Allen keys or multi-tool sets. These are normally small, so you can pop them in your bag in case you need them during your journey.
When tightening bolts, always use a compatible torque wrench, as this will prevent damage to any carbon components. Besides Allen keys, hex wrenches are also great for fixing bolts. We suggest investing in a good bike repair stand to make any repairs easier.
Mistake 7: Ignoring bolt tightness
If your bolts are too loose, don’t ignore the squeaking and scratching noises while cycling. It’s easy to drown it out with the wind, but doing so can compromise your safety.
When one bolt works loose, you’re bound to face instability, shifting issues, and failure mid-ride. A slack derailleur hanger can result in chain drops or even a snapped derailleur, while a stem bolt that is half a turn too loose might cause handling issues.
These can be caused by excessive vibration, using the wrong tools for bolts, or even shifts in temperature.
Key areas to check
- Stem bolts— After a forceful knock, loose bolts may cause the bar to become misaligned.
- Handlebar clamps— critical for rider control.
- Seatpost bolts— On a high climb, you don't want to deal with a loose saddle in the middle of the ride.
- Crank bolts— a small amount of movement here might result in creaking or worse, particularly on two-piece systems.
- Disc rotors and brake callipers— these bolts should be tight and inspected frequently to avoid noise or friction.
Mistake 8: Delaying professional servicing
Although we like to convince ourselves that we can, not every issue can be handled by the DIY route.
To make sure everything is running smoothly, it’s important that you take your bike for a professional servicing every 6 to 12 months (depending on your needs). An expert will be able to spot any problems you missed and deal with them before they become a bigger issue.
Not everything can be solved with a bit of WD-40— sometimes, you just have to admit you don’t know everything and leave it in the hands of someone else. Plus, issues like worn bottom bracket bearings, stretched gear cables, or slight rotor warps aren’t obvious at first to an untrained eye.
Ride smarter with Moda Bikes
If you’re ready for something that will make all other bikes seem incomparable, then check out our road and gravel bikes.
Moda bikes are built to go the distance, ideal for professional cyclists, novices, or hobbyists. Whether you’re an off-tracker or a racer, our performance bikes will impress every time, offering a comfortable and smooth ride.
For those seeking the perfect exploration bike, endurance road bikes offer excellent stability and control, even on challenging terrain.